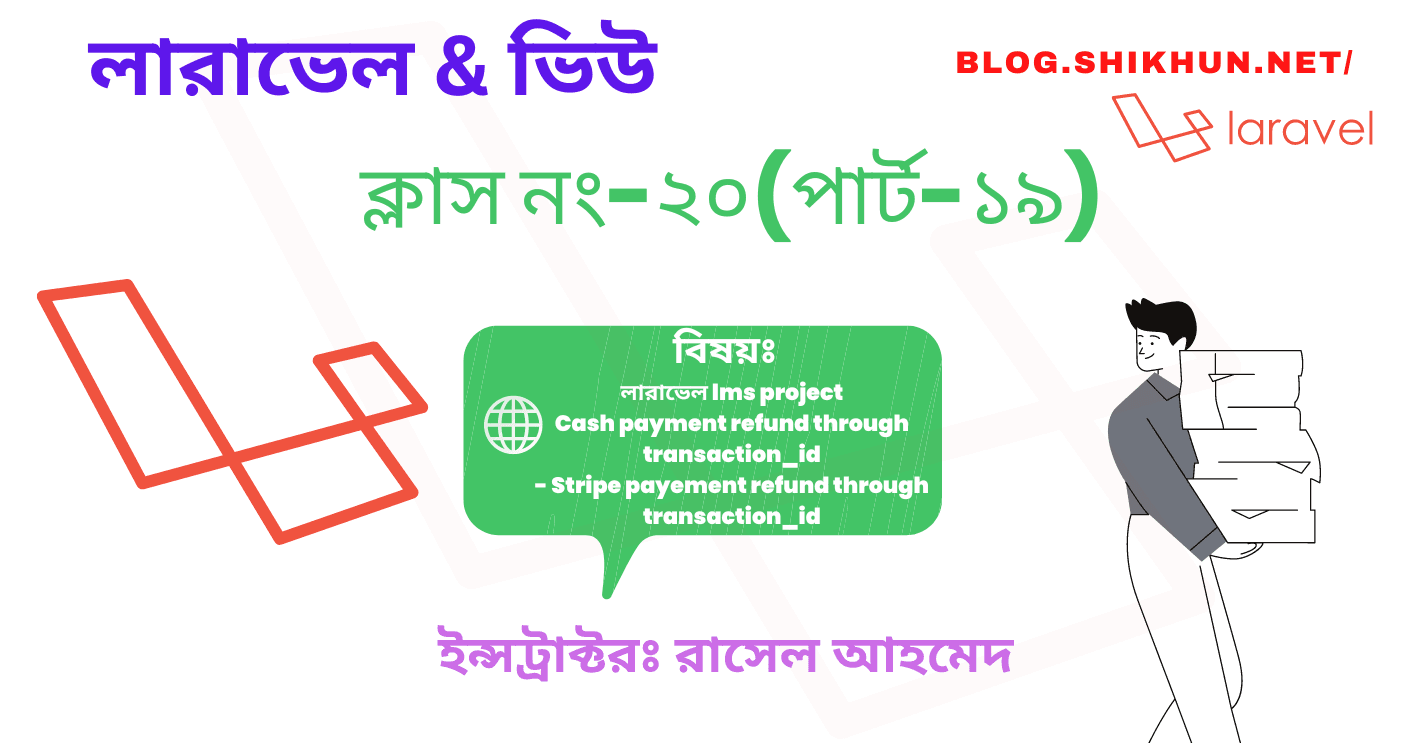
ক্লাস নং-২০(পার্ট-১৯) - Cash payment refund ,- Stripe payment refund through transaction_id,
Hi there, I am rakibul islam you can call me rakib, i have completed my graduation from chongqing university of technology,chongqing china department of cse & i really love to write blog & share
আজকের ক্লাসে আমরা আমাদের - Cash payment refund through transaction_id,- Stripe payement refund through transaction_id নিয়ে আলোচনা করব। এছাড়াও আমাদের payment gateway তে payment করার সময় কার্ড নং এবং আমাদের অন্যান্য এরর গুলো সুন্দর মত শো করাব।
তো প্রথমেই আমরা refund policy তে যায়। এবং এর জন্য আমরা database migration এ যায়। এবং আগের যে টেবিল আছে সেখানে আমরা transaction id column add করি।
 Schema::create('payments', function (Blueprint $table) {
            $table->id();
            $table->float('amount');
            $table->unsignedBigInteger('invoice_id');
            $table->string('transaction_id');
            $table->timestamps();

            $table->foreign('invoice_id')->references('id')->on('invoices')->onDelete('cascade');
        });
এবার আমাদের এই payment create admission যে livewire component আছে সেখানে payment create এর মধ্যে আমরা দিয়ে দিই।
if(!empty($this->payment)) {
            Payment::create([
                'amount' => $this->payment,
                'invoice_id' => $invoice->id,
                'transaction_id' => Str::random(8),
            ]);
        }
এবং এই transaction id টা আমাদের যে payment model আছে সেখানে fillable property তে দিয়ে দিতে হবে।
 protected $fillable =[
        'amount',
        'invoice_id',
        'transaction_id'
    ];
এবার আমরা একবার আমাদের Database এ migration চালিয়ে নেব যেহেতু আমাদের migration এ change করা হয়েছে।
এবার আমরা student admission করিয়ে আমাদের invoice create করে refund policy চেক করতে পারব।
আশা করি বুঝতে পেরেছেন।
এখন আমরা যে বিষয় টা নিয়ে কথা বলব সেটা হলো আমরা যদি admission section এ গিয়ে email দিয়ে লিড খুজে admission করানোর সময় যদি না পায় বা ভূল email দেই তাহলে সেখানে আমাদের new admission form আসবে যেখানে
-name
-email
-password
দিলে নতুন করে admission course select করে payment করার অপশন আসবে আমরা সেটা করব।
তো এর জন্য প্রথমেই আপনাকে livewire এর admission file এ গিয়ে সেখানে fillable property নিতে হবে।
 public $name;
    public $email;
    public $password;
    public $notFound = false;
    public $user_id;
এরপর search function এ সেগুলো দিয়ে define করতে হবে।
  public function search() {
        $this->notFound = true;
        $this->course_id = null;
        $this->lead_id = null;
        $this->selectedCourse = null;
        $this->leads = Lead::where('name', 'like', '%' . $this->search . '%')
            ->orWhere('email', 'like', '%' . $this->search . '%')
            ->orWhere('phone', 'like', '%' . $this->search . '%')
            ->get();
    }
এরপর আমাদের student কে নতুন করে add করে নিতে হবে।
public function addStudent(){
        $this->validate([
            'name'=>'required',
            'email'=>'required|email',
            'password'=>'required'
        ]);
        $user = User::create([
            'name' => $this->name,
            'email' => $this->email,
            'password' => bcrypt($this->password),
        ]);

        $this->user_id = $user->id;

    }
    public function studentAdmit(){

        $invoice = Invoice::create([
            'due_date' => now()->addDays(7),
            'user_id' => $this->user_id,
        ]);

        InvoiceItem::create([
            'name' => 'Course: ' . $this->selectedCourse->name,
            'price' => $this->selectedCourse->price,
            'quantity' => 1,
            'invoice_id' => $invoice->id,
        ]);

        $this->selectedCourse->students()->attach($this->user_id);

        if (!empty($this->payment)) {
            Payment::create([
                'amount' => $this->payment,
                'invoice_id' => $invoice->id,
                'transaction_id' => Str::random(8),
            ]);
        }


        $this->selectedCourse = null;
        $this->course_id = null;
        $this->lead_id = null;
        $this->search = null;
        $this->leads = [];
        $this->notFound = false;


        flash()->addSuccess('Admission successful');
    }
এবার আমাদের admission blade file এ elseif দিয়ে নতুন করে form নিয়ে আসতে হবে।
@elseif(count($leads) === 0 && $notFound)
        <form class="mt-6" wire:submit.prevent="addStudent">
            <div class="mt-6 mb-3 w-full flex items-center gap-4">
                <div>
                    @include('components.form-field', [
                        'name' => 'name',
                        'label' => 'Name',
                        'type' => 'text',
                        'placeholder' => 'Enter name',
                        'required' => 'required',
                    ])
                </div>
                <div>
                    @include('components.form-field', [
                        'name' => 'email',
                        'label' => 'Email',
                        'type' => 'email',
                        'placeholder' => 'Enter Email',
                        'required' => 'required',
                    ])
                </div>

                <div>
                    @include('components.form-field', [
                        'name' => 'password',
                        'label' => 'Password',
                        'type' => 'password',
                        'placeholder' => 'Enter password',
                        'required' => 'required',
                    ])
                </div>

            </div>

          <div class="mt-3">
              @if (empty($user_id))
                  @include('components.wire-loading-btn')
              @endif
          </div>
        </form>

        <form class="mt-4" wire:submit.prevent="studentAdmit">
            @if(!empty($user_id))
                <div class="mb-4">
                    <select wire:change="courseSelected" wire:model.lay="course_id" class="lms-input">
                        <option value="">Select course</option>
                        @foreach($courses as $course)
                            <option value="{{$course->id}}">{{$course->name}}</option>
                        @endforeach
                    </select>
                </div>
            @endif

            @if(!empty($selectedCourse))
                <p class="mb-4">Price: ${{number_format($selectedCourse->price, 2)}}</p>

                <div class="mb-4">
                    <input wire:model.lazy="payment" type="number" step=".01" max="{{number_format($selectedCourse->price, 2)}}" class="lms-input" placeholder="Payment now">
                </div>

                @include('components.wire-loading-btn')
            @endif
        </form>
ব্যাস আমাদের কাজ complete .
discord link: discord.gg/9qWUUbQ3
facebook group :web.facebook.com/groups/1661735757554627
Happy Learning
Rakibul Islam